1st October
For this task I had to create a variety of sample that would suit a garment. After I chose the sample which would work best i then had to create bigger versions of the same sample then once that was complete I was put into a group of three, we had to leave are samples undernieth a manicing (the man icings were placed in a circle) for each rotation we had to create a garment within a particular restricion e.g. Creating a garmentthat had to be: simetrical, using only the shoulders, only the bottom part of the body etc...

This was the first flower I created out of paper in my opinion I thought this flower inparticular looked flat.


This is an improvement on the flower before instead of taping the middle parts down in the cenrte I taped the middle parts together so that they would stick out and look like an actual flower.

This was a simple sample as I used origami this sample would look good for shoulder pads .

I used the technique 'weaveing' to create a sample that would look good just on its own used for a jacket etc...

I thought this sample looked good but from a far I can't really see the scales this was the same for the weave sample perhaps if I use different colours would work much better.

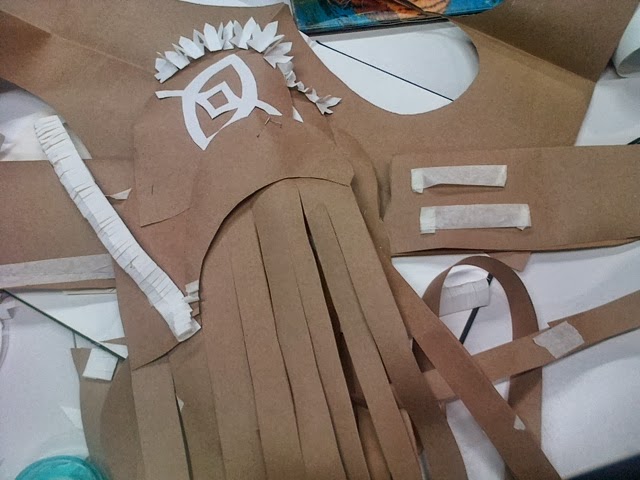
For this sample I cut slits in a strip of paper and rolled it up then spread out the little strips to create a 3D sample.

This sample was To small for a dress or even a other garments but could use for smaller detail.

This is the cut out (2D) for the improved flower I would have to use this template for the other samples.


I used different sizes so that there would be a varity to work with and that the garment wouldn't look dull.


In a group we Created a dress without any specification.


 .
.

This dress Needed to be simetrical

For this garment we needed to use the sample that would make the Shoulders stand out.


For this garment we had to work around the bottom part of the body.


This is what the dress looked like after my group placed all of our samples together. Before we created this dress we decided that one person would be resposable for a section of the manicing one person would work on the top part of the manicing, the next the bust area and the last would work on the bottom part of the manicing. In my opinion I like the outcome of the dress the big letters for the skirt worked really well as they added volume to the dress.the only thing I would do differently would have experimented more with the placement of the samples as using the samples in a different place would create a different garment altogether.
For each rotation I felt was successful as each garment I felt matched with the specification that was set.